
Last updated November 16, 2026
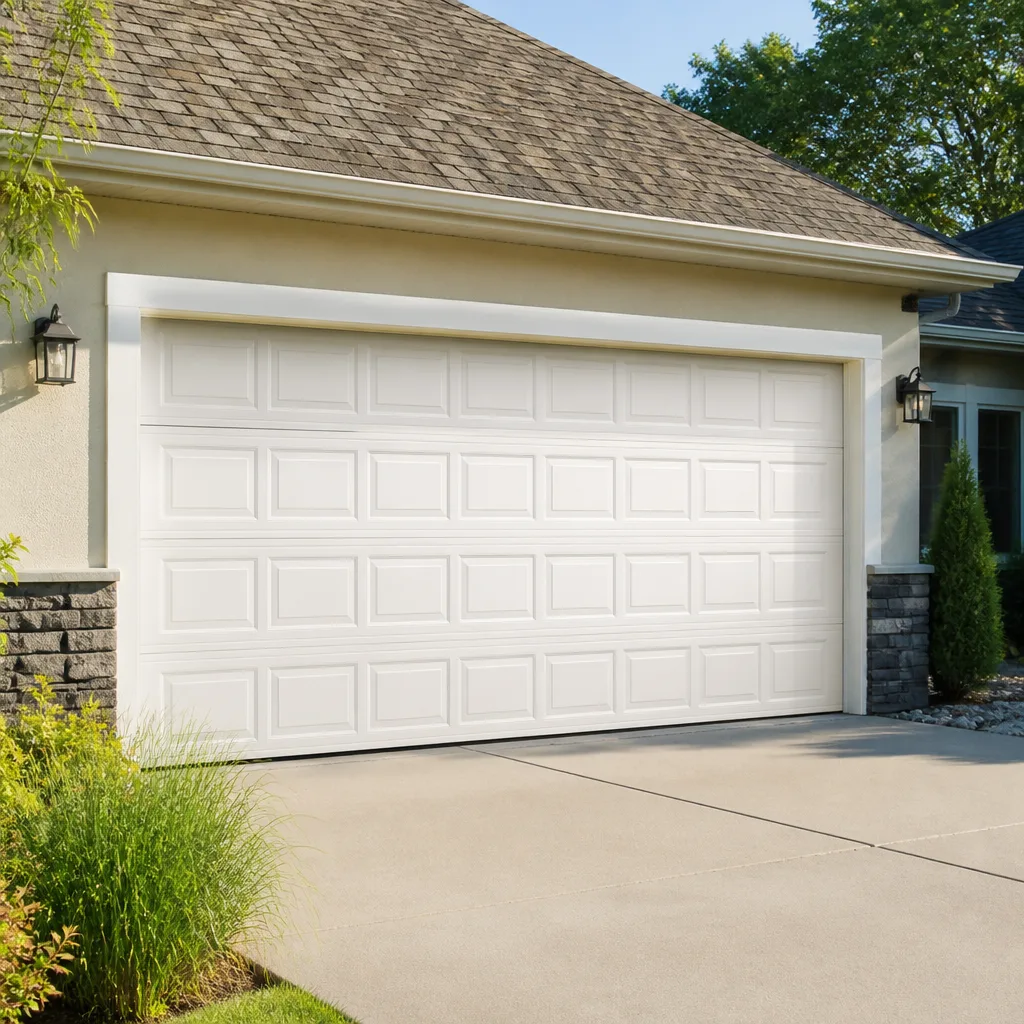 Raised-panel steel
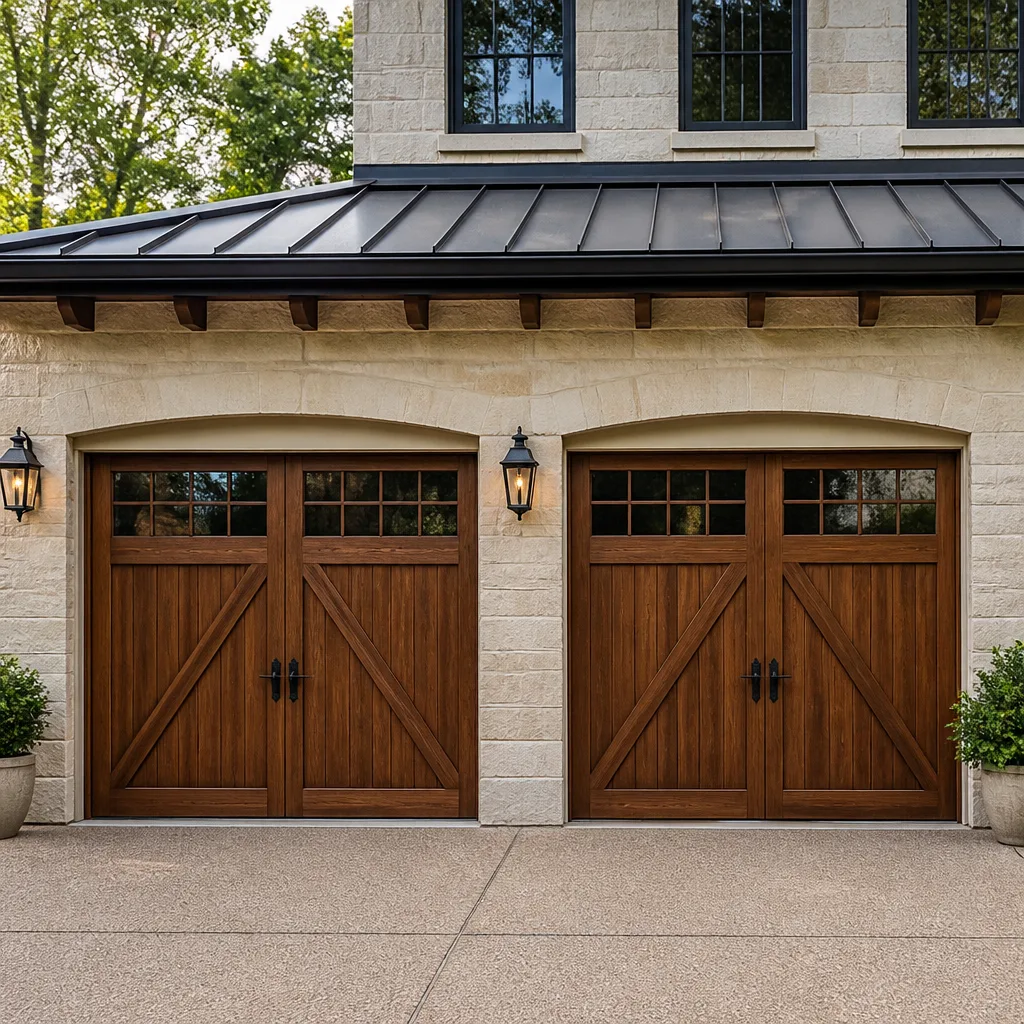 Carriage house
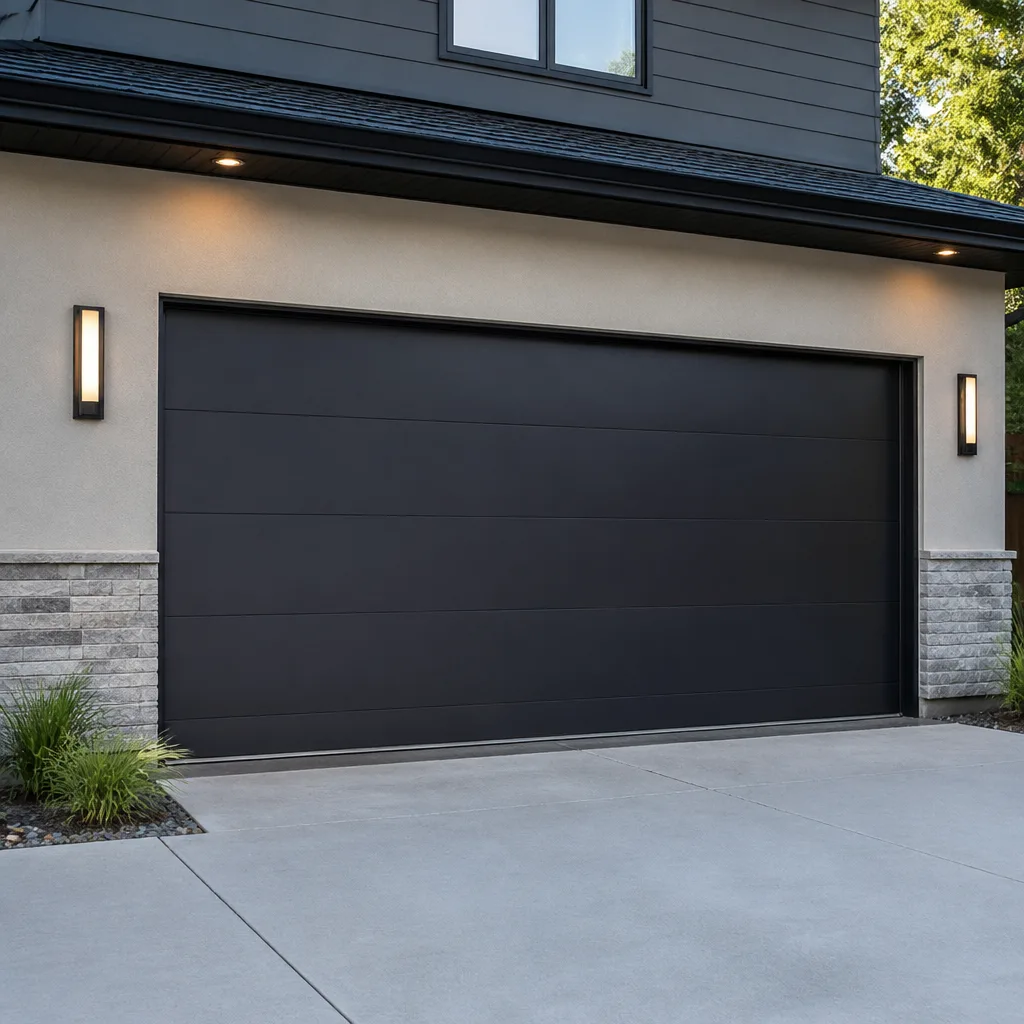 Modern flush
 Full-view glass
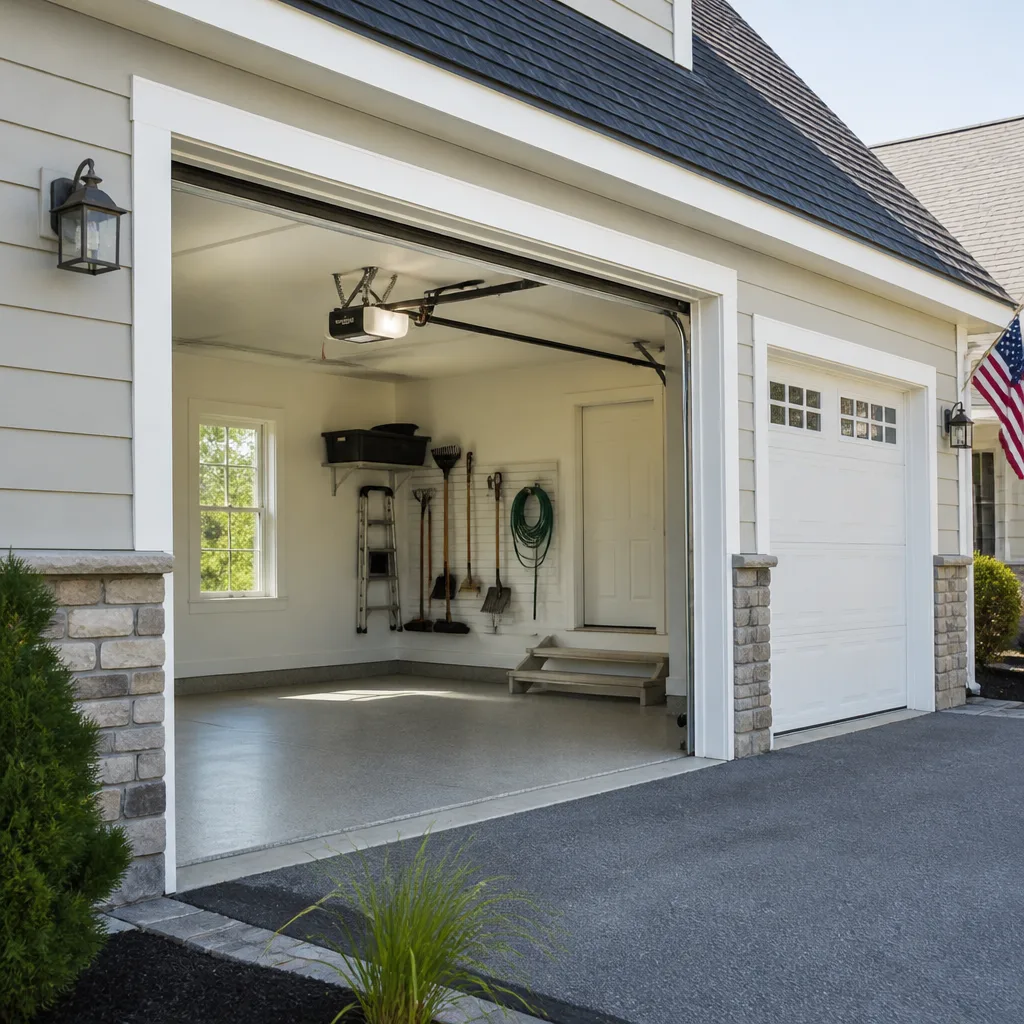 LiftMaster openers
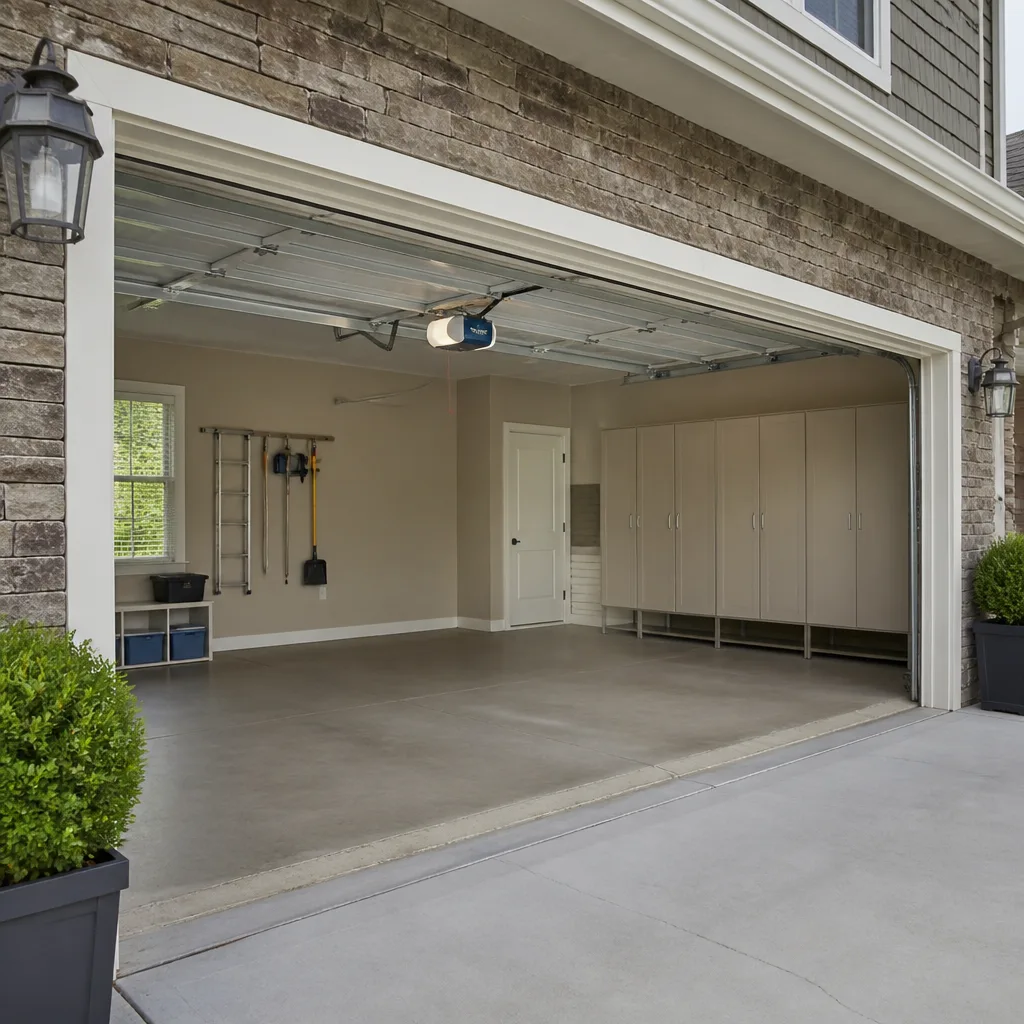 Chamberlain openers
Full 25-point door and opener safety check with every visit - springs, cables, rollers, tracks, and your LiftMaster or Chamberlain opener included
You get a price before we start. It does not change when the pro arrives.
Get your free estimateGarage Door Repair Maintenance Checklist for St. Louis Homeowners
Most garage door checklists are written to protect the person handing them out, not the person doing the work. They list ten generic steps, none of which tell you what your door actually needs in this climate. Here’s the thing the templates miss: in St. Louis, springs don’t fail because of age. They fail because of the swing. A winter that runs from single-digit nights to 60-degree afternoons can move a torsion spring through a 50-degree delta in a matter of days, and that cycling is what finally snaps the steel. This checklist is built around that failure order, so you check the parts most likely to quit first, in the sequence they tend to quit. You’ll learn what to test yourself, what to log for a technician, and where spring tension sits as the hard line between the two.
Quick Answer
A garage door maintenance checklist in St. Louis should be sequenced by freeze-thaw failure risk, not by convenience: torsion springs and cables first, then bottom seal and concrete contact, then rollers and hinges, then opener force and safety reversal. Homeowners can safely inspect, clean, lubricate, and document. Anything involving spring tension, cable tension, or adjusting the opener’s force limits belongs to a trained technician, because those parts store enough energy to cause serious injury. A door that passed inspection in November can fail in March without a single part visibly changing.
Styles & brands we work with
- Raised-panel steel
- Carriage house
- Modern flush
- Full-view glass
- LiftMaster openers
- Chamberlain openers
Table of Contents
- Why St. Louis Doors Fail in a Sequence, Not All at Once
- The Post-Winter Inspection Sequence
- Testing Your Bottom Seal on St. Louis Concrete
- Lubrication for Missouri Humidity, Not Arizona Heat
- Roller and Cable Wear Patterns on High-Cycle Doors
- What You Can Check Yourself and What You Must Hand Off
- A Seasonal Maintenance Calendar for St. Louis
- Opener Checks: Force Limits, Safety Reversal, and Smart Openers
Why St. Louis Doors Fail in a Sequence, Not All at Once
A garage door isn’t one machine. It’s a dozen parts under different loads, and in St. Louis those loads change with the season in a predictable order. Understanding that order is what separates a useful checklist from busywork.
Torsion springs carry the full weight of the door. They’re wound steel, and steel moves with temperature. Cold contracts the metal and increases tension; warmth expands it and relaxes it. A spring that lived through a 10-degree night and then a 65-degree afternoon has been worked harder than one that stayed at a steady 40. Repeat that pattern across a St. Louis winter, and you get fatigue cracking that shows up in the first warm weeks of spring. That’s why so many spring failures here land in March and April, not January.
Cables are next in line. They run through pulleys and wrap around drums, and freeze-thaw cycles loosen and retighten the door’s geometry just enough to shift cable seating on the drum. A cable that’s slightly off its groove wears faster and can fray at the drum edge.
Then come the moving joints: rollers, hinges, and the bottom seal. The seal takes the worst of it because it sits against a concrete floor that moves with frost heave and settles back in the thaw. Rollers and hinges accumulate grit and lose lubrication through the wet months.
Last is the opener, because it’s the part that absorbs all the friction the other parts create. A motor that’s straining against dry hinges and a dragging seal will show it in the force settings or in odd noises long before it fails outright. Sequenced correctly, an inspection flows top-down through this list. Sequenced wrong, you test the opener first, see it works, and miss the spring that’s about to let go.
This is the checklist we structure for nearly every garage door repair call in St. Louis, and it’s the one worth putting on your fridge.
The Post-Winter Inspection Sequence
Check in this order. Each step tells you whether to keep going or stop and call.
- Look at the door from inside, closed. Stand in the garage and examine the door panels for gaps, sagging, or a bow in the middle. A door that’s out of level is loading one side harder than the other, and that stress starts in the springs.
- Inspect the torsion springs above the door. You’re looking, not touching. Check for a visible gap in the coil, a distorted or bent coil section, or rust-colored dust on the springs and nearby hardware. A clear break is a stop-and-call situation. Do not try to cycle the door.
- Examine the cables for fraying or slack. Look at both sides where the cable meets the drum and at the bottom brackets. Frayed strands, a cable lying loose on the floor, or a cable that looks like it’s jumped its groove all mean hands off.
- Check the bottom seal contact. Detailed below, since the concrete itself matters here.
- Roll the door up by hand if you can safely. With the opener disengaged, a properly balanced door should lift with modest effort and stay put when you let go at half height. If it drops or slams, or if you’re fighting it, stop.
- Look at rollers and hinges. Cracks in nylon rollers, worn steel rollers with flat spots, and loose hinge screws all show up here.
- Test the opener last. Force reversal, safety sensors, and any smart-home functions get checked once you know the door itself moves correctly.
We can’t overstate step two. The torsion spring holds the entire door’s weight in stored energy, and it sits under load even when the door is down. A homeowner with a wrench and good intentions is one slip away from a serious hand injury. Inspect with your eyes, and leave the winding to a trained technician.
Testing Your Bottom Seal on St. Louis Concrete
St. Louis garage floors are not flat. The clay soils in a lot of neighborhoods, and the freeze-thaw action across the metro, mean a slab that poured level can heave, crown, or settle over the years. That matters for your bottom seal because the seal can only compress so far. On a floor that’s moved, a seal that looks fine on one side can leave a visible gap on the other.
Here’s how to test it without any tools.
- The flashlight test: Close the door, then stand in the garage with the lights off and look for daylight along the bottom. Any continuous bright line means the seal isn’t touching.
- The dollar-bill test: Close the door on a dollar bill (or a strip of paper) at several points along the width. A properly compressed seal grips the bill so you feel resistance when you pull it out. Where the bill slides out with no drag, the seal isn’t making contact there.
- The water test after a hard rain: Look for dampness or a water line on the floor just inside the door. A gap that only shows up in one spot usually traces to a heave in the slab beneath it, not to the seal itself.
If the gap is uniform along the whole bottom, a new seal usually solves it. If the gap shows up in one place and the concrete has clearly heaved or dipped there, a thicker or shaped seal can bridge small variations, but a large hump or dip may need the door’s travel adjusted or a different seal profile. That’s a judgment call worth handing to a technician, because the wrong seal just gets crushed on the high spots and still leaves a gap over the low ones. A dragging seal also loads the opener, so a badly matched seal can wear out a Genie or LiftMaster motor faster than it should.
Lubrication for Missouri Humidity, Not Arizona Heat
Most garage door lubrication advice online is written for dry climates, and it doesn’t hold up here. St. Louis summers are humid enough that a light lubricant can attract grit and turn into a grinding paste on your rollers and hinges. The right approach for this climate is a heavier, tacky product that stays put and doesn’t wash or thin out in the wet months.
What to use, and where:
- Rollers and hinges: A white lithium grease or a purpose-made garage door lubricant. Apply a thin film, not a glob. Excess collects dirt.
- Tracks: Do not grease them. Tracks should be wiped clean and dry. Grease in the track grabs dust and gets pushed into the roller bearings.
- Springs: A light coat of lubricant on the spring coils where they meet is fine and helps slow rust, which is a real concern in humid St. Louis summers. Do not attempt to clean between the coils with the door under tension.
- Lock and moving pivot points: A few drops of a penetrating oil, worked in by cycling the door by hand.
How often? For a door that opens a few times a day, twice a year lines up with the season change: once in late fall before the first hard freeze and once in spring after the thaw. If your household runs a lot of daily cycles, more frequent light applications beat one heavy one. Listen for squeaks and groans, which are your cue that something has dried out or a roller has worn.
Squealing from the opener itself is a different problem. That’s usually the drive system, not the door hardware, and it points to garage door opener repair rather than lubrication.
Roller and Cable Wear Patterns on High-Cycle Doors
An attached garage in a busy household can log far more cycles than people realize. Every trip out and back is one cycle, and a family with two cars and a school run can push past a dozen a day without thinking about it. Those doors wear differently, and the patterns are recognizable once you know what to look for.
On rollers: Nylon rollers tend to develop flat spots and hairline cracks on the outer edge when they’re run at high cycles. Steel rollers wear into an oval shape and get noisy. You’ll hear them before you see them, usually as a rhythmic rumble that speeds up with the door’s travel.
On cables: High-cycle doors often show their first cable wear at the drum, where the cable wraps and unwraps thousands of times. Look for a frayed section right where the cable leaves the drum, and for a cable that’s riding outside its groove. Cables also show wear at the bottom bracket, which is the most dangerous spot to inspect closely. That bracket is under heavy tension and can release suddenly if a cable fails while you’re near it, so give it a look from a distance and let a technician handle anything you’re unsure of.
On hinges and the center bearing: Hinges at the highest-travel points (usually the middle of the door) wear first. The center bearing plate, where the torsion shaft passes through, is a common squeak source on high-cycle doors and one that a homeowner shouldn’t try to tighten without knowing the spring tension is neutralized.
If you’re documenting cycles, a quick mental tally for a normal week gets you close enough to know whether you’re light or heavy duty. If you’re heavy duty, plan on an inspection twice a year and expect rollers and cables to be the first parts to ask for attention. A Clopay or Amarr door with good hardware will still wear at these points, because wear is about use, not brand.
What You Can Check Yourself and What You Must Hand Off
The dividing line is spring tension. On one side of it, you’re inspecting; on the other, you’re handling stored energy that can injure you badly. Here’s a clean split.
Safe for you to do:
- Visual inspection of springs, cables, rollers, hinges, tracks, and panels.
- Lubricating rollers, hinges, and pivot points with a proper product.
- Wiping tracks clean and dry.
- Testing the bottom seal with the flashlight, dollar-bill, and water methods.
- Testing the opener’s safety reversal with an object in the door’s path.
- Cleaning and testing the safety sensors at the bottom of the tracks.
- Checking balance by hand with the opener disengaged.
- Documenting what you found: photos, a note of noises, dates, and which side of the door is affected.
Hand off to a trained technician:
- Anything involving tightening, loosening, or replacing a torsion or extension spring.
- Any job where a cable is frayed, slack, or off its drum.
- Adjusting or replacing the bottom brackets that hold the cable ends.
- Replacing the center bearing plate or the torsion shaft.
- Adjusting the opener’s force limits or travel limits if the door doesn’t open smoothly.
- Replacing a broken panel or straightening a bent track.
The reason spring work sits firmly on the technician side isn’t caution for its own sake. It’s that the spring holds the door’s full weight under tension, and the tools that wind and unwind it need to be handled by someone who does it regularly. That same dividing line applies whether your door carries a Chamberlain opener, a Wayne Dalton door, or any of the eight major brands we service, because the physics of a torsion spring don’t care what label is on the housing.
We work on what you already have. When the inspection turns up something on the hand-off list, that’s a job for a specialist, not a new door.
A Seasonal Maintenance Calendar for St. Louis
St. Louis has four distinct seasons, and each one stresses the door differently. Build your checklist around them instead of trying to remember maintenance on your own schedule.
- Early fall (before the first hard freeze): Lubricate rollers, hinges, and springs. Test the bottom seal. Check the opener’s force and safety reversal. Fix anything that’s been squeaking all summer, because cold weather makes worn parts louder and stiffer.
- Mid-winter: Listen and look. Cold stiffens everything, and the door will tell you what’s struggling. Don’t lubricate in extreme cold unless a technician recommends a specific cold-rated product; some greases get stiff and make things worse.
- Post-thaw (March and April): The big inspection. Work the post-winter sequence above. This is when spring fatigue from freeze-thaw cycles usually shows up.
- Late spring: Clean tracks and check that summer humidity hasn’t started rusting springs or corroding hardware. A light coat on the springs helps here.
- Summer: Fine-tune. Check that the door still runs smoothly and that the opener isn’t doing extra work pushing against a dragging seal. This is also the season to notice if your garage is running hotter and your smart opener’s app has been flagging odd cycle counts.
A door that gets this rhythm of care lasts longer and costs less to own. The alternative is waiting for the sound of a spring breaking on a cold morning, which is never a convenient way to start the day.
If you’re near the city proper, our St. Louis service notes cover what we see most often across local neighborhoods, and the same sequence applies whether the door faces a north-facing alley or a sunny south side.
Opener Checks: Force Limits, Safety Reversal, and Smart Openers
The opener is the easiest part of the system to check and the easiest to misjudge. Two tests belong on your list.
Safety reversal test: Put a solid object like a piece of wood flat on the floor in the door’s path. Close the door with the opener. When the door contacts the object, it should reverse and go back up. If it stops without reversing, or if it pushes down and stalls, that’s a call.
Photo-eye test: With the door open, wave an object in front of the safety sensors at the bottom of the tracks on both sides while you close the door. The door should reverse immediately. If one sensor’s indicator light is off or flickering, the sensors are misaligned or the lens is dirty.
Force limits are a different matter. Every opener has them, and they’re there to prevent the door from crushing something, so raising them to make a stiff door close isn’t a fix, it’s a safety problem. If your door needs more force to close than it used to, the door itself is dragging and needs attention, not the opener.
Smart openers and Wi-Fi-enabled models add a maintenance item: update the app and check that the opener’s status is reporting accurately. A LiftMaster or Genie unit that thinks it’s closed when it isn’t can leave you with a security gap you don’t notice until later. When the drive system itself starts acting up (grinding, stalling, or the door reversing without a clear reason), that’s opener-specific work, separate from the mechanical door. It’s worth having someone look at both at the same time, since half of all “opener problems” turn out to be door problems wearing out the motor.
Common Mistakes to Avoid
- Greasing the tracks. It feels right, but grease in a track grabs grit and makes rollers wear faster. Leave tracks clean and dry. This one mistake ages doors faster than any St. Louis winter.
- Testing the opener first. If you skip the springs and cables and go straight to the opener, a failing spring can look like an opener problem and you’ll chase the wrong part.
- Raising the opener’s force limit to force a stiff door closed. That overrides a safety feature and hides the real problem. Look at why the door is dragging, not how to push harder.
- Lubricating once and calling it done. St. Louis humidity and freeze-thaw cycles wear lubrication out of joints faster than a dry climate does. Twice a year is a working minimum.
- Replacing the bottom seal without checking the concrete. On a floor that’s heaved, a new seal still leaves a gap. Test the slab, not just the seal.
- Assuming heavy use is fine because the door still opens. High-cycle doors fail quietly at the cable and hinge points. Watch for the wear patterns rather than waiting for a break.
- Trying to wind a spring by yourself. The torsion spring is a piece of stored energy, not a maintenance item. Doing this yourself is the most common way a homeowner ends up in urgent care.
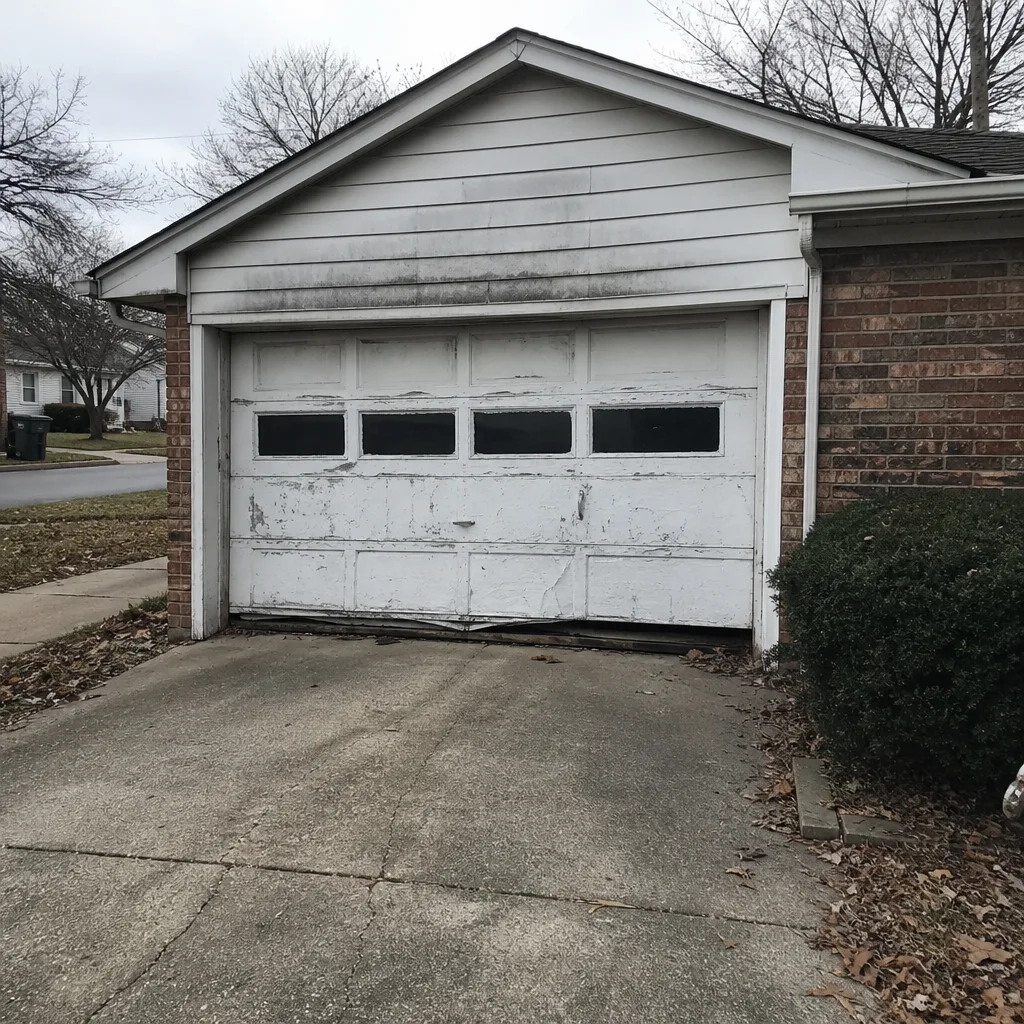
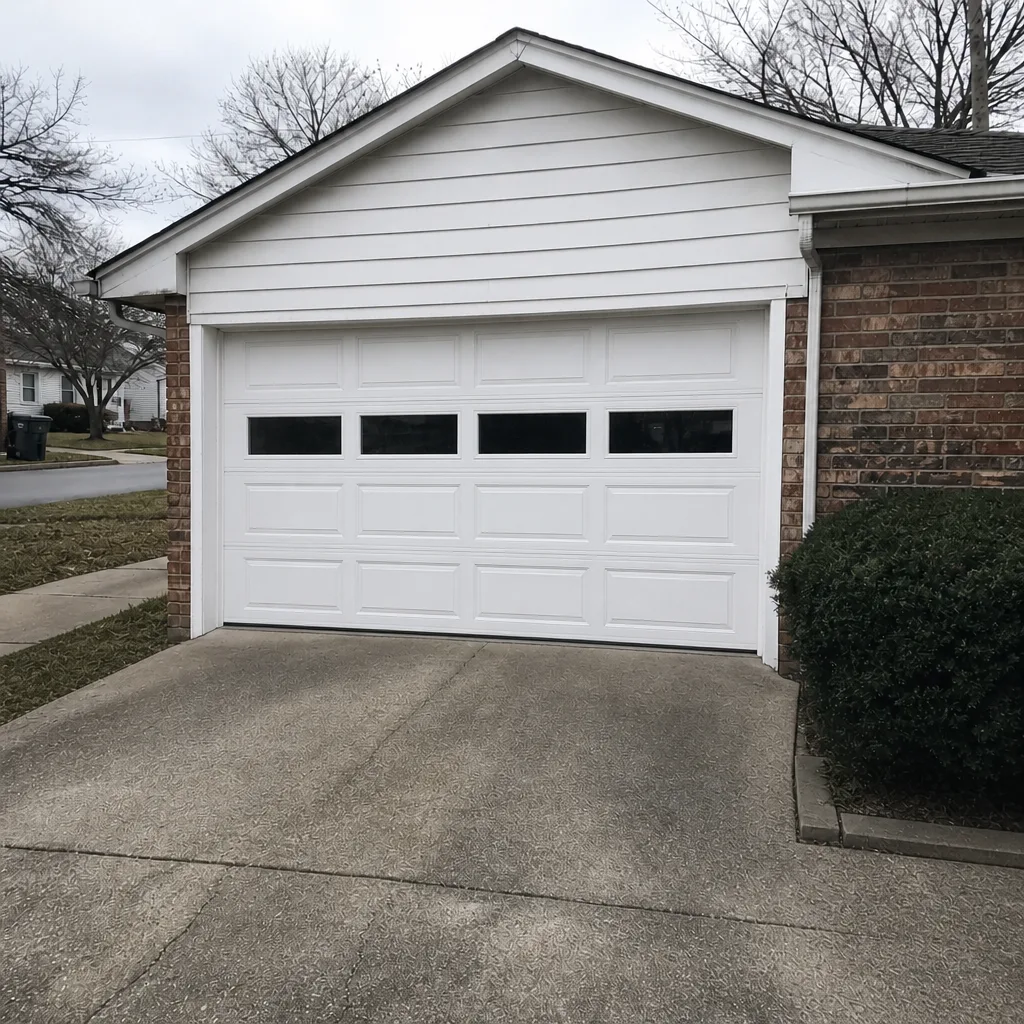
See the difference
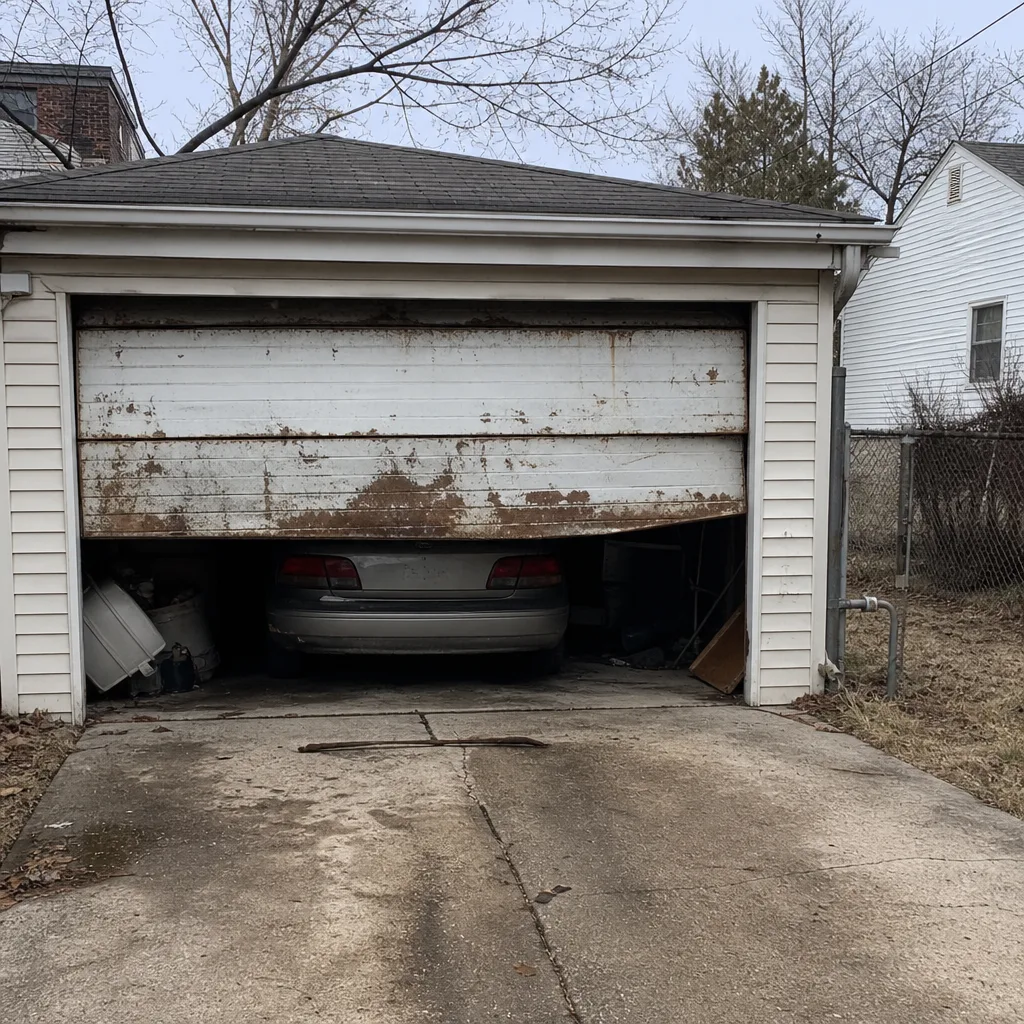 Before
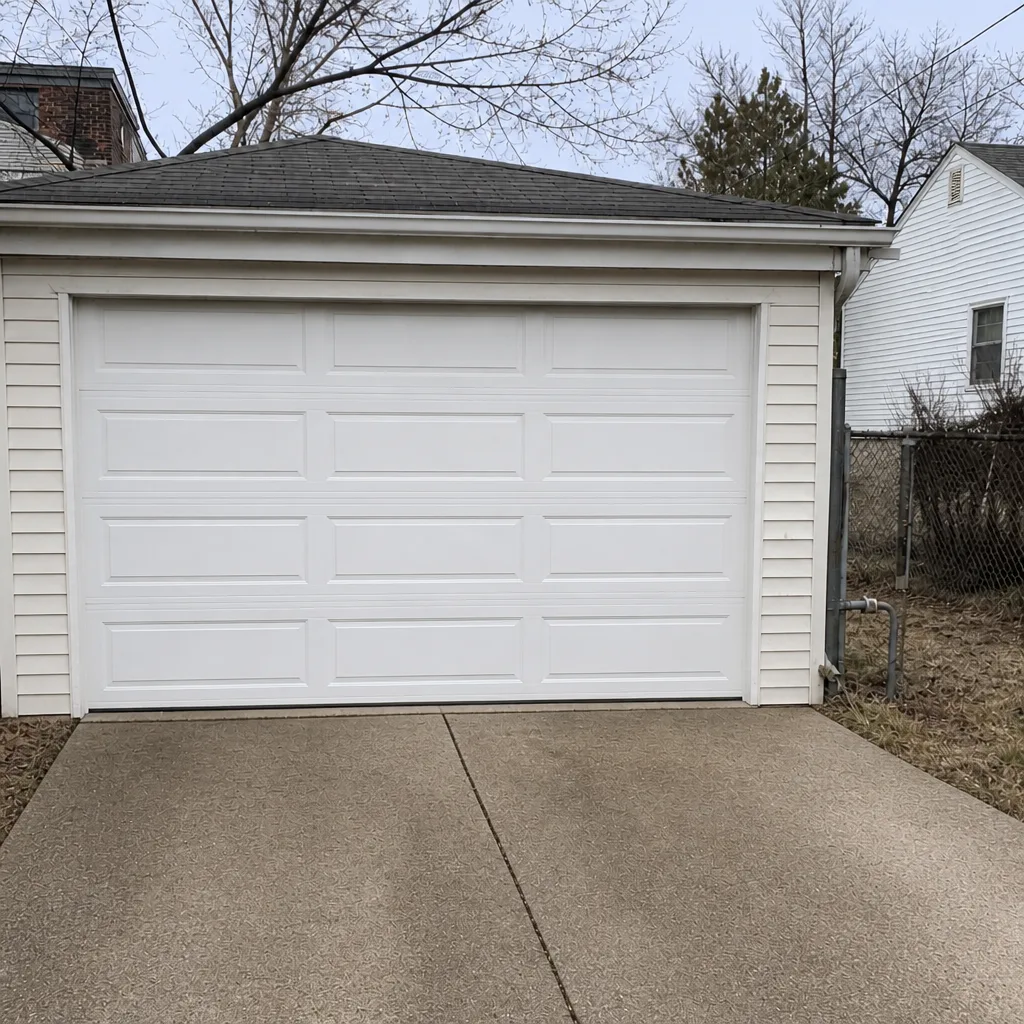 After
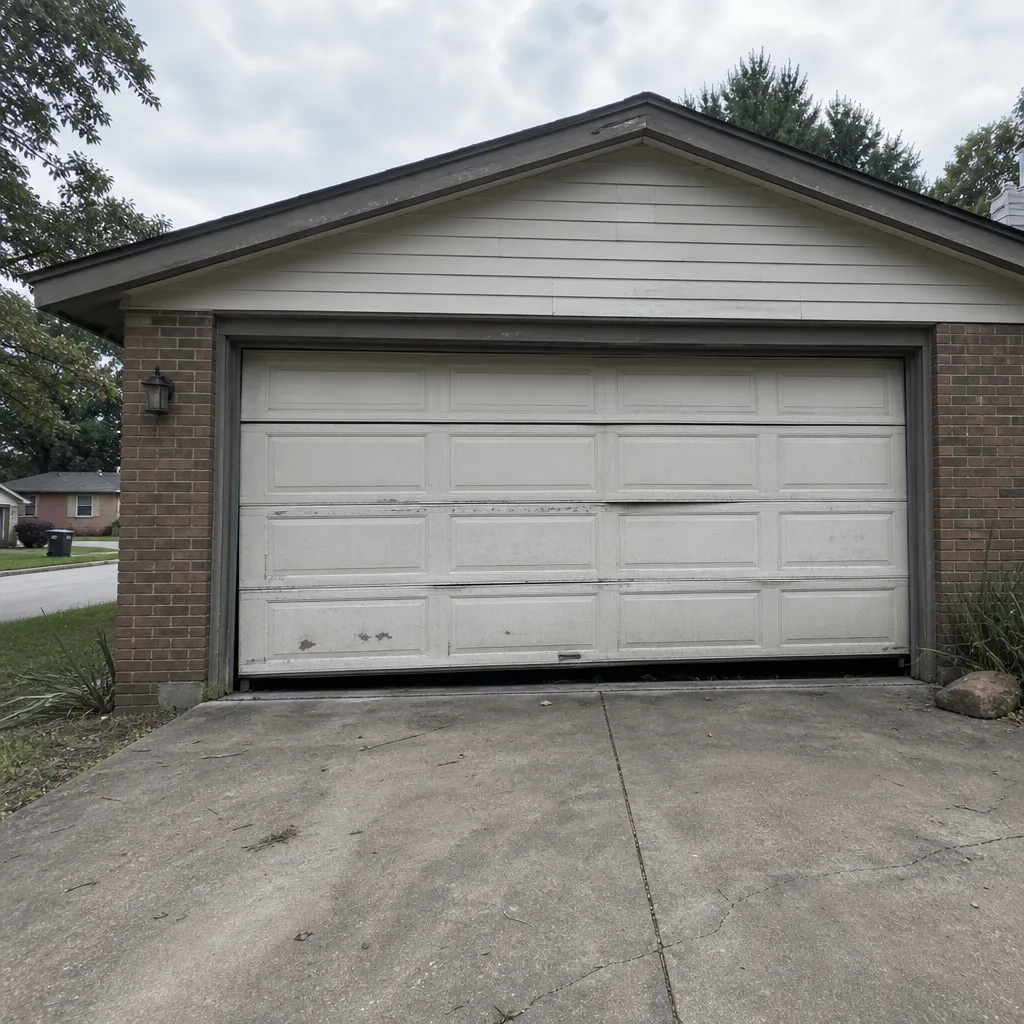 Before
 After
 Before
 After
When to Call a Professional
Call a technician when you see a broken spring, a cable off its drum or frayed, a door that’s come off level, or brackets that look bent or loose. Call when the door won’t stay up by hand, when it drops or slams when you let go, or when the opener reverses without a clear reason. Call when the bottom seal leaves a gap over a heave or dip you can’t bridge. And call when the door is more than a few years old and you’ve never had the springs and cables inspected by someone trained to do it, especially after a winter like the ones St. Louis gets. We answer 24/7 and offer free estimates in St. Louis: Landon Garage Door Repair can look at the door and the opener together and tell you the right fix, not the most expensive one. Call (866) 942-7683. Fast dispatch from 7am to 7pm, Sunday through Friday.
Frequently Asked Questions
Twice a year, at minimum: once in early fall before the first freeze and once in spring after the thaw. Our technicians have up to 14 years of experience, and the pattern we see across St. Louis is that doors checked after freeze-thaw season catch spring and cable wear earlier than doors that only get looked at once a year. Call (866) 942-7683 for a free estimate if you’d rather have a professional do the full inspection.
The torsion springs, before anything else. Start by looking for a visible gap in the coil, a distorted section, or rust dust on the springs and nearby hardware. If you see a break, stop and call; don’t cycle the door. Spring fatigue from the temperature swings is the leading post-winter failure here, and catching it early prevents a much bigger repair.
Yes. Close the door, stand inside the garage with the lights off, and look for a bright line of daylight along the bottom. Then run a dollar bill around the closed door at several points and feel for drag; where it slides out with no resistance, the seal isn’t compressing. A heavy gap in one spot usually points to concrete that’s heaved, not a seal that’s failed.
Yes, for rollers, hinges, and pivot points, and a light coat on the springs where the coils meet. Never grease the tracks, which should stay clean and dry. Do not try to lubricate or clean between spring coils while the door is under tension, and do not touch any part of the spring assembly with the door under load.
A door problem shows up in the door itself: binds, refuses to stay up, makes noise when you move it by hand, or has a visible broken part. An opener problem shows up when the door moves fine by hand but the motor grinds, reverses without reason, or runs the door unevenly. We handle both as separate disciplines, so you’re not dealing with two companies when the answer turns out to be somewhere in between. Call (866) 942-7683 for a free estimate on either.
Yes, for the eight most widely installed residential brands, including LiftMaster, Chamberlain, Genie, Clopay, Amarr, Wayne Dalton, Craftsman, and Raynor. We work on what you already have rather than steering you toward a new system. Our technicians diagnose the system in front of them, and the recommendation comes from fit and budget, not from what’s easiest to sell.
The Bottom Line
Garage door maintenance in St. Louis works when it follows the failure order, not a generic template. Springs and cables take the first hit from freeze-thaw temperature swings, so they get checked first. The bottom seal comes next, tested against concrete that heaves and settles. Rollers, hinges, and cables follow, with a closer eye on high-cycle attached-garage doors. Lubrication and opener checks round out the list. Do the safe parts yourself and document what you find; hand off everything that involves spring or cable tension, because those parts store energy and a mistake there is serious. Cycle through this list twice a year, and you’ll get ahead of the failures this climate reliably produces.
Doors and openers are separate jobs, and both wear on their own schedule. If your inspection turns up something, whether it’s a worn Clopay panel, a strained LiftMaster motor, or a Genie opener reversing without a clear reason, we handle the whole system under one point of contact. Call (866) 942-7683 for a free estimate. We answer 24/7. A call outside dispatch hours is booked into the next opening, Sunday through Friday, 7am to 7pm. When you do reach us, you’ll get a written price quoted and agreed before any work starts, so the estimate you get is the estimate you pay.
Written by the team at Landon Garage Door Repair.