
Last updated November 16, 2026
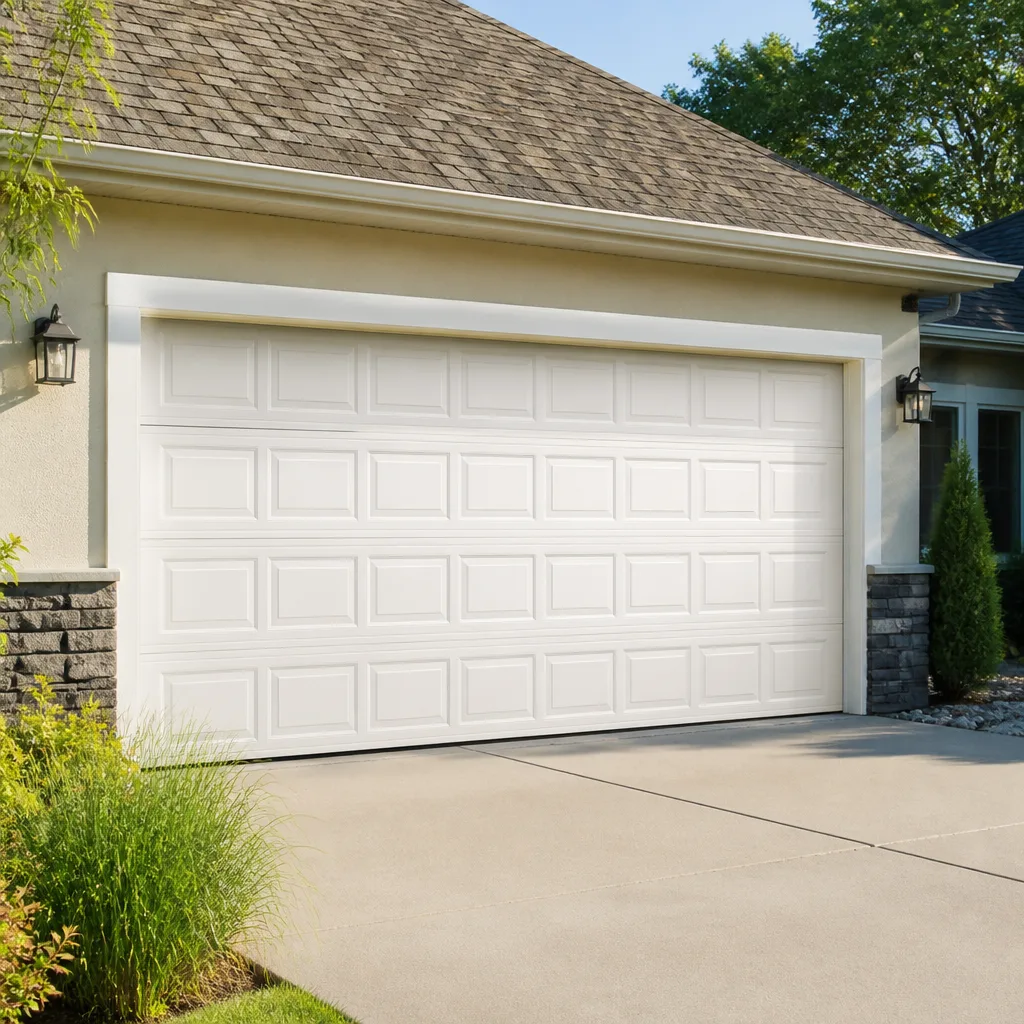 Raised-panel steel
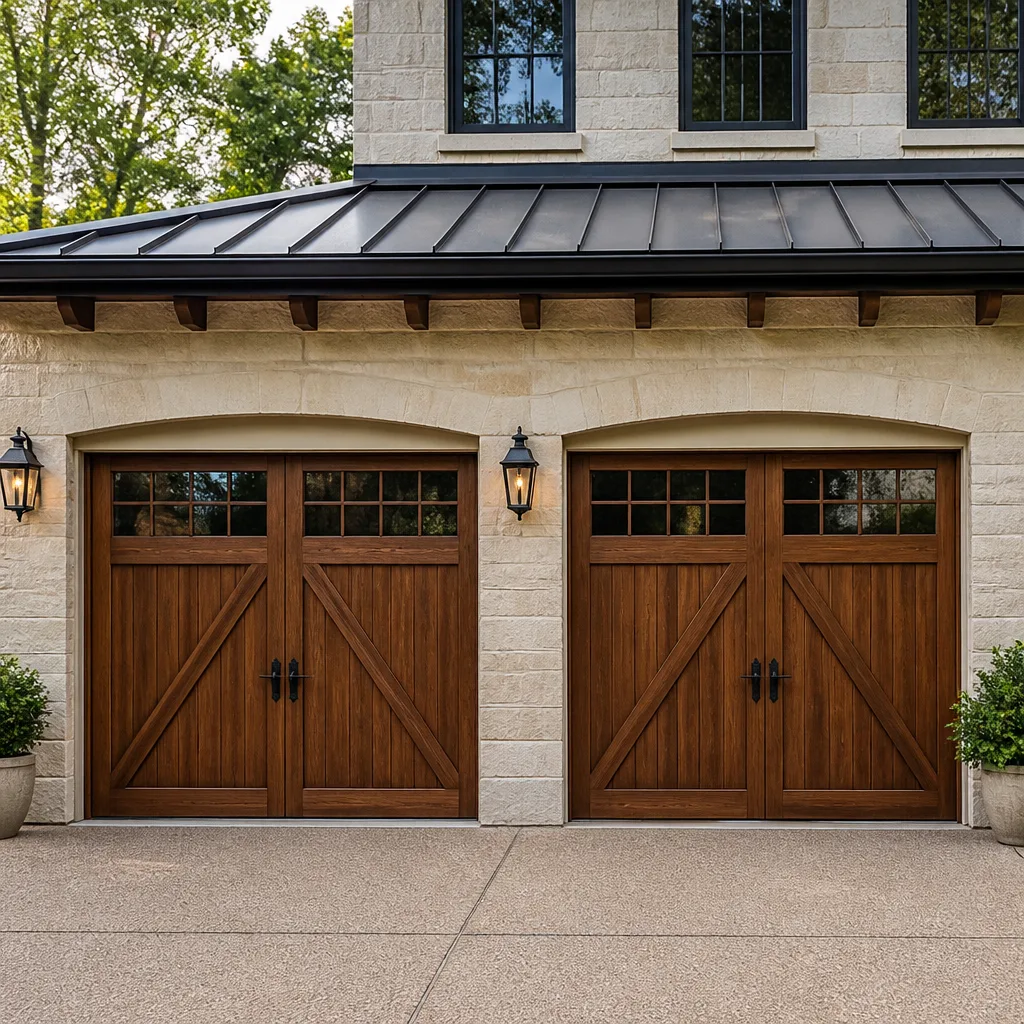 Carriage house
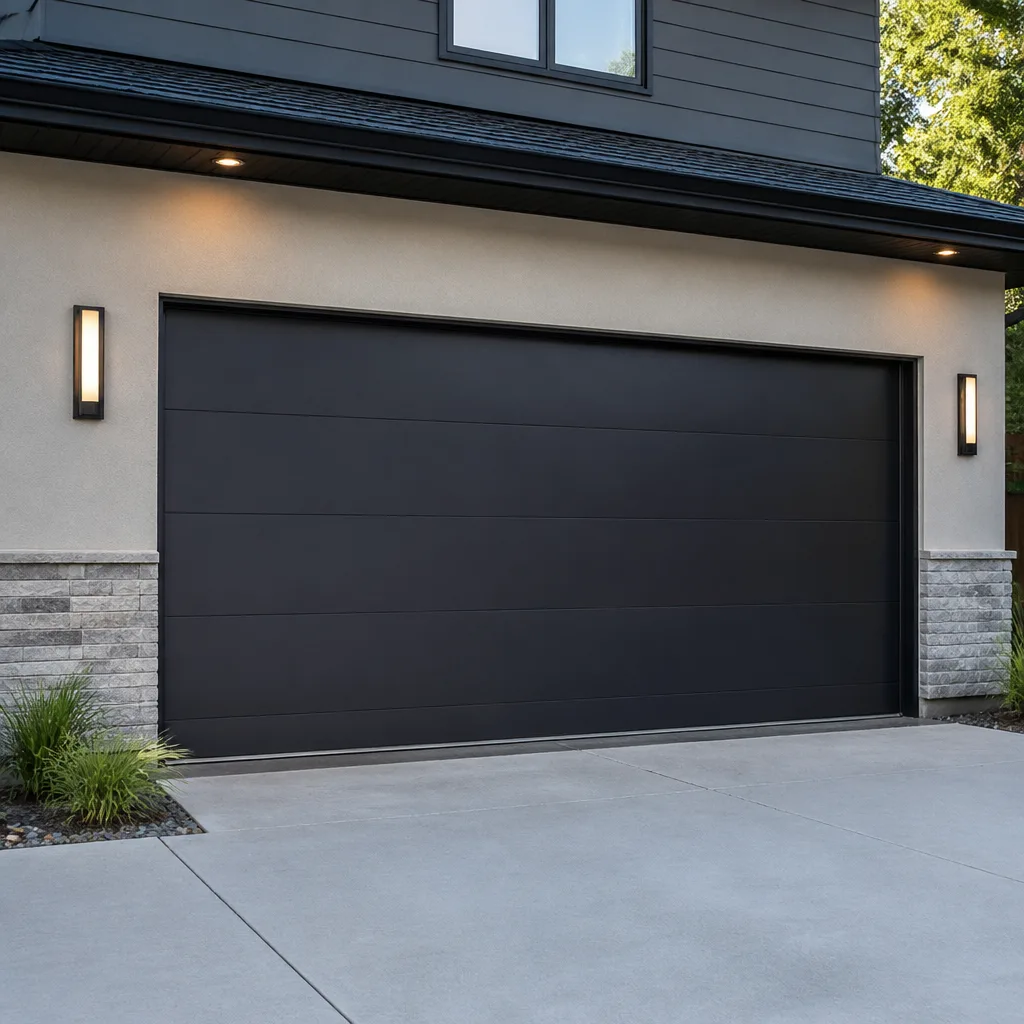 Modern flush
 Full-view glass
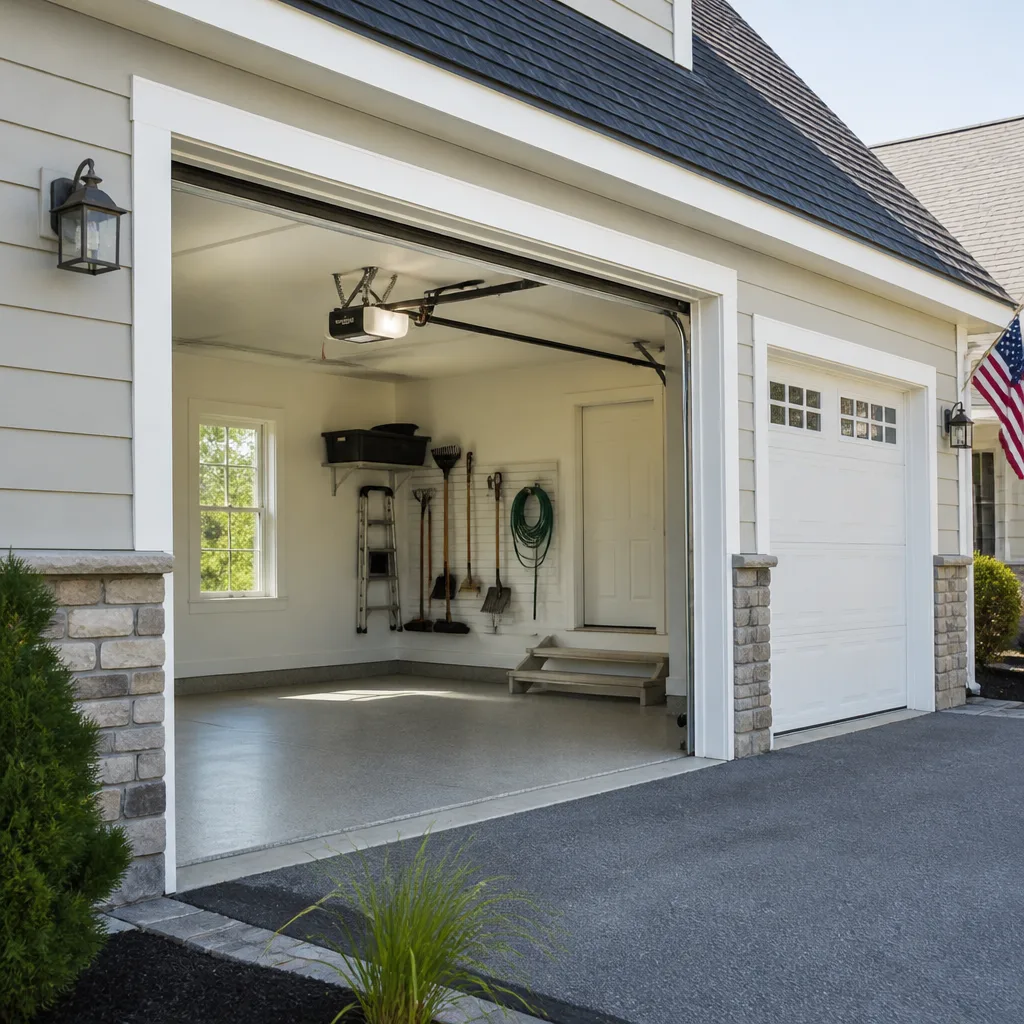 LiftMaster openers
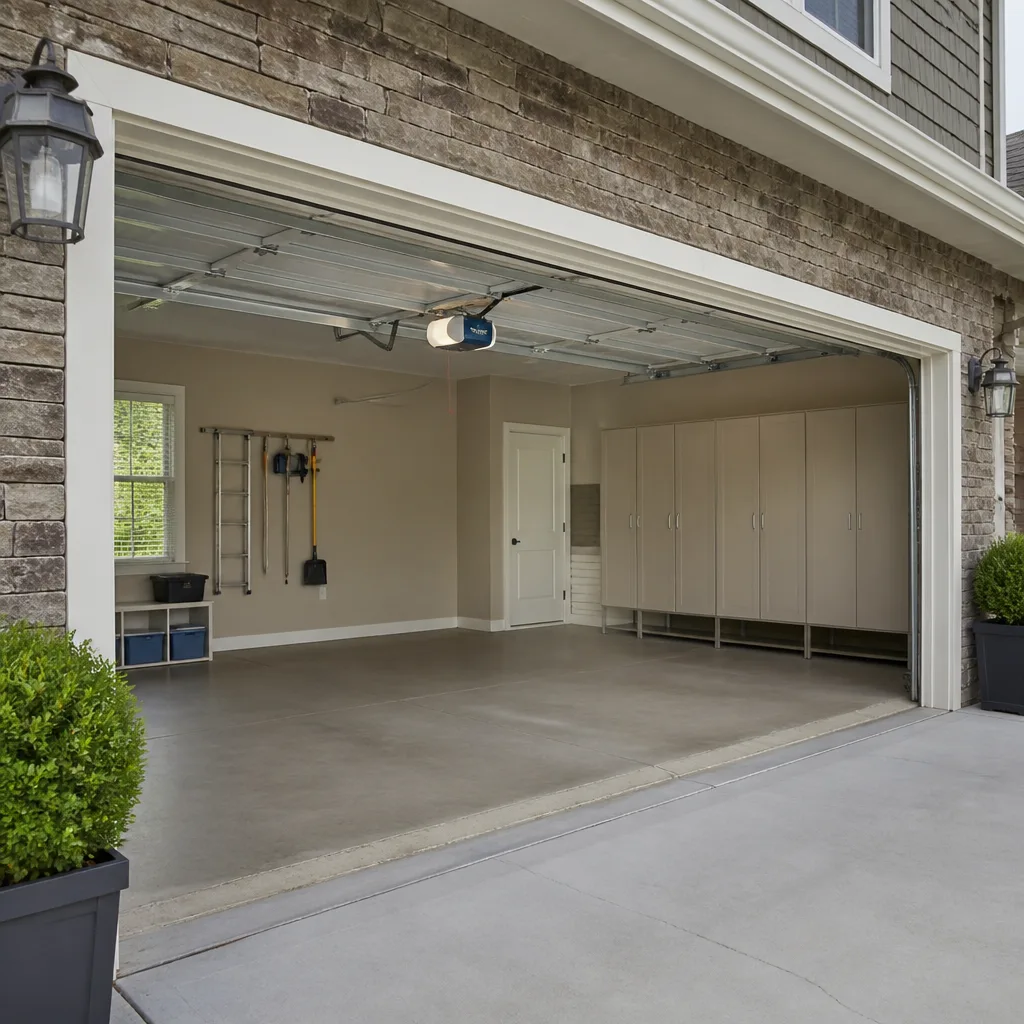 Chamberlain openers
Full 25-point door and opener safety check with every visit - springs, cables, rollers, tracks, and your LiftMaster or Chamberlain opener included
You get a price before we start. It does not change when the pro arrives.
Get your free estimateDIY vs Professional Garage Door: The St. Louis Homeowner’s Decision Guide
A torsion spring stores roughly 100 foot-pounds of torque. That’s not a warning meant to scare you off the job. It’s the physics reason the DIY line on a garage door gets drawn in a different place than it does on any other system in your house. You can safely replace a weather seal, reset a photo eye, or swap a remote battery without a second thought. You should not touch the spring or the cables, no matter how good the tutorial looks. This guide gives St. Louis homeowners a task-by-task split so you spend money only where it buys safety or real time back, and never risk a hand on the jobs that can hurt you.
Quick Answer
Sensors, remotes, weather seals, rollers, lubrication, and track adjustments that don’t involve tension are safe DIY jobs for most homeowners. Anything involving torsion or extension springs, cables, bottom brackets, or a door that’s come off its tracks belongs to a trained technician, full stop. Everything in between (openers, panel damage, balance problems) depends on your tools, your comfort, and how the door is behaving. Call us at (866) 942-7683 if you’re not sure which side of the line your job falls on; we’ll tell you straight.
Styles & brands we work with
- Raised-panel steel
- Carriage house
- Modern flush
- Full-view glass
- LiftMaster openers
- Chamberlain openers
Table of Contents
- Why Garage Doors Split the DIY Line Differently
- The Three Lists: Safe DIY, DIY With Training, Professional Only
- The Tools and Knowledge Gaps That Make Spring Work Different
- DIY Parts vs Professional Repair: The Five Common St. Louis Jobs
- How to Vet a YouTube Tutorial Before You Trust It
- What “I’ll Just Watch It for Now” Costs You
- When to Call a Professional
- Frequently Asked Questions
Why Garage Doors Split the DIY Line Differently
Every home system has a DIY ceiling. You can swap a faucet washer. You can replace an outlet cover. You can clean a furnace filter. The ceiling exists because the risk of getting it wrong outweighs the savings. On a garage door, that ceiling sits lower than almost anywhere else in the house, and the reason is stored energy.
A torsion spring on a standard residential door is wound under tension during installation. When the door closes, that tension is what balances the full weight of the panels. A torsion spring holds roughly 100 foot-pounds of torque at rest. Extension springs carry a comparable load in a different geometry. That stored force is doing useful work every time you press the button. It’s also what makes spring work categorically different from every other garage door task.
Here’s the part most guides skip. The spring is under tension right now, even when the door is sitting closed and quiet. There’s no valve to shut off, no breaker to flip, no gas line to cap. There’s no way to “make it safe” from the outside. That means the barrier isn’t skill. It’s access to the stored energy itself.
St. Louis adds a wrinkle. Our summers run hot and humid, and our winters swing between freezing rain and hard dry cold. That cycle works on steel, on lubricant, and on the wood and metal of the door frame. A marginal spring, roller, or cable that felt fine in September tends to announce itself in January. When that happens at 6 AM with the car full and the kids already buckled in, “I’ll get to it this weekend” stops feeling like a plan.
We work on what you already have. That matters for this guide because the right answer isn’t always “call a pro” or always “do it yourself.” It depends entirely on which component is involved.
The Three Lists: Safe DIY, DIY With Training, Professional Only
This is the heart of the guide. Every common garage door task falls into one of three buckets. No gray area, no “it depends on your comfort level” hedging. If a task isn’t on the safe list, treat it as pro-only until someone qualified tells you otherwise.
Category 1: Safe DIY (no stored-energy risk)
These tasks involve low voltage, low force, or no mechanical tension at all. If you own a screwdriver and a step stool, you can handle every one of them.
- Replacing the bottom weather seal. The rubber or vinyl strip along the bottom of the door lifts out of its track and slides back in. No tools required beyond a utility knife for trimming to length.
- Cleaning and aligning photo-eye sensors. The small lenses near the floor get dusty, fogged, or knocked out of aim. A soft cloth and a gentle nudge back toward the opposite sensor usually fixes it.
- Replacing remote batteries and re-pairing remotes. Every opener brand we service (LiftMaster, Chamberlain, Genie, Craftsman, and the rest) uses a pairing button on the motor head. The manual walks you through it in under a minute.
- Resetting a Wi-Fi or smart-home connection. If your opener dropped off the app, a power cycle and re-pair usually brings it back.
- Lubricating rollers, hinges, and the torsion bar bearings. A garage-door-rated lubricant on the moving contact points quiets a noisy door and slows wear. Never lubricate the tracks themselves.
- Wiping down panels and touching up paint. Cosmetic work on steel or wood panels is entirely safe as long as you’re not standing on a ladder to reach the top section.
- Tightening hinge and bracket bolts (not spring hardware). A socket wrench on the hinge plates is fine. Anything attached to a spring or cable is not.
Category 2: DIY With Training (moderate risk, real consequences if wrong)
These jobs won’t hurt you if you’re careful, but a mistake costs money or leaves the door in worse shape. Attempt them only if you’ve read the manufacturer’s manual for your specific door and you have the right tools on hand.
- Replacing nylon rollers. The rollers themselves come off with a wrench, but the door has to be supported and the track alignment has to be preserved. Get it wrong and the door binds.
- Minor track adjustment. A track that’s been bumped slightly out of plumb can sometimes be nudged back with a rubber mallet. Anything more than a slight adjustment risks a door that comes off the track entirely.
- Replacing a wall-mounted push button or keypad. Low-voltage wiring, simple terminals. Easy if you photograph the connections before you pull them.
- Swapping a belt or chain on a belt-drive or chain-drive opener. Feasible for a handy homeowner with the manual and a couple of hours, but the tension settings matter and a loose chain can derail.
- Replacing a single damaged bottom panel. The panel itself is a bolt-on job. The tricky part is getting the new section to sit flush with the adjacent panels and the seal to close cleanly.
Category 3: Professional Only (stored energy or structural risk)
These jobs can cause serious injury or death if attempted without training and the right tools. No tutorial makes them safe.
- Torsion spring replacement or adjustment. The single most dangerous task in the trade. The winding bars, the tension math, and the failure mode all require hands-on training.
- Extension spring replacement. Less torque than torsion, still loaded. Extension springs fail violently when they let go, and the safety cable is part of the system for a reason.
- Cable replacement. Cables are what carry the door’s weight when the spring lets go. A slipped cable can whip through a wall.
- Bottom bracket and drum work. Both sit under cable tension. Both can release suddenly.
- Re-hanging a door that’s come off its tracks. The door is heavy, unbalanced, and unpredictable in that state.
- Opener motor replacement or logic board failure. Most opener problems are electrical or logic-board issues, and diagnosing them without the right meter and the brand-specific schematics wastes more time than it saves.
- Panel replacement on a door that’s out of balance. If the door isn’t balanced, panel work is dangerous regardless of how simple the panel swap looks.
For anything in Category 3, a free estimate is the cheapest part of the job. Call (866) 942-7683 and we’ll tell you which list your task belongs on before you buy a single part.
The Tools and Knowledge Gaps That Make Spring Work Different
Here’s the test we suggest to any homeowner wondering whether they’re equipped for a job: list the tools the job requires, then ask whether you’d recognize a wrong answer. Spring work fails both tests for almost every homeowner.
The tools
Torsion spring replacement on a residential door needs a pair of winding bars sized to the spring cone, a proper set of sockets and wrenches, a door support stand or blocking, a cable tension gauge, and the manufacturer’s exact spring specs for your door. Winding bars alone are a specialty tool most homeowners will never own, and borrowing a set from a neighbor who doesn’t know how to use them is how people get hurt. The spring must be matched to the door’s weight and height, not guessed at from the old one.
The knowledge
Even with the right tools, there are three things that don’t show up in a ten-minute video. First, the winding count has to match your door’s weight, which changes when you replace panels or add insulation. Second, the balance point has to be re-checked at the halfway position after the spring is set. Third, the cable tension has to be right, because a door with a correct spring and a slack cable still comes down wrong. Each of those is a judgment call built from repetition, not from reading.
Why other tasks don’t share the problem
A weather seal fails in a way you can see. A sensor misalignment shows up as a blinking light. A dead remote battery is obvious. Those tasks fail small. Spring work fails large, and it fails without warning. That asymmetry is the entire argument for the three-list split.
In our experience, homeowners who call us about a spring almost always knew they shouldn’t touch it. The ones who got hurt are the ones who talked themselves into it because a video made it look doable. If that’s where you are, close the tab and call instead.
DIY Parts vs Professional Repair: The Five Common St. Louis Jobs
The cost math changes job by job. Below are typical estimated ranges for the five most common garage door jobs we see around St. Louis, compared with what the parts alone usually run at a big-box store or online. These are estimates, not quotes. The written estimate you receive sets the final price, and it’s agreed before any work starts.
| Job | Typical DIY parts cost | Typical professional repair range | Verdict |
|---|---|---|---|
| Bottom weather seal replacement | $20-$40 for the seal | $150-$250 | Do it yourself if the door is otherwise fine |
| Photo-eye sensor realignment or replacement | $20-$45 for a sensor pair | $120-$220 | Try aligning first; replace if the sensor is dead |
| Roller replacement (full set) | $30-$60 for nylon rollers | $180-$320 | DIY with training; call if the door binds after |
| Torsion spring replacement (one spring) | $40-$90 for the spring, plus winding bars | $220-$380 for one spring | Professional only |
| Opener motor or logic board failure | $100-$250 for a board, more for a motor | $250-$550 including diagnostics and install | Professional only unless you’ve done one before |
Two things to read into that table. First, the spring line is the one place where the DIY savings look biggest on paper and cost the most in reality, because the winding bars, the balance check, and the risk don’t fit in a parts receipt. Second, a matched pair of torsion springs is usually replaced together, so a pair costs about twice the single-spring range. If one spring on a matched pair has broken, the second one is on borrowed time.
On a Clopay or Amarr door, panel and seal replacement parts are easy to source and easy to match by model number. On older Wayne Dalton or Genie systems, parts availability gets narrower, and that’s where a pro’s brand knowledge saves real time. We service all the major brands, so we can tell you in one call whether the part you need is even available for your door.
Call us at (866) 942-7683 for an exact quote on any of the jobs above. Estimates are free, and we quote before we start.
How to Vet a YouTube Tutorial Before You Trust It
YouTube is genuinely useful for garage door work, but only if you can spot the tutorials that will get you hurt. We’ve watched a lot of them, and the same three technical errors show up again and again. Watch for these before you touch a single bolt.
Error 1: The tutorial skips the balance check
Any spring or roller tutorial that doesn’t walk you through a balance check at the halfway position is missing the step that tells you whether the job actually worked. A door that goes up and down smoothly but isn’t balanced will wear out its opener and break the next spring early. If the video never mentions balance, close it.
Error 2: The tutorial treats winding bars as optional
Winding bars exist for a reason. They let you set and release tension while keeping your hands and body out of the spring’s path. Any tutorial that shows a homeowner using a screwdriver, a socket extension, or a wrench instead of proper winding bars is telling you to improvise with a tool that can slip and release the spring. That’s the fastest way to a serious injury.
Error 3: The tutorial specs a generic spring
The spring on your door is sized to a specific wire gauge, inside diameter, and length that match the door’s weight and height. A tutorial that says “buy a 250×2 spring” without asking you what door you have is telling you to guess. A spring that’s too strong or too weak will either fight the opener or fail to lift the door. The correct spring is the one that matches your door, not the one in the video.
A quick vetting checklist
- Does the tutorial name the exact door and spring model it’s working on, or does it speak in generalities?
- Does it show the balance check at the halfway point?
- Does it use proper winding bars and show the correct body position?
- Does it describe how to match the spring to the door’s weight, or does it just say “order the same one”?
- Does the presenter describe the failure modes (what happens if you get it wrong), or does the video end as soon as the door goes up?
If a tutorial passes all five, it’s probably trustworthy for the task it covers. If it fails even one, treat the whole video as unreliable. For anything in Category 3, skip the vetting and call (866) 942-7683 for a free estimate. It’s cheaper than an urgent care visit.
What “I’ll Just Watch It for Now” Costs You
The most expensive garage door decision most homeowners make isn’t whether to DIY. It’s the decision to wait. A marginal spring, a cable with one frayed strand, or a roller that’s developing a flat spot doesn’t improve with time.
St. Louis winters have a way of accelerating the timeline. A cold snap drops lubricant viscosity, stiffens seals, and puts extra stress on the springs and cables. A component that survived a mild fall can fail on the first hard freeze. When that happens at 6 AM, the car’s in the garage, the kids are late for school, and the door is stuck half-up. The emergency call is more expensive than the scheduled one would have been, and it’s a worse morning for everyone involved.
There’s a second cost, quieter and easier to miss. A door that’s out of balance wears the opener faster. A door with a dragging seal lets moisture into the frame. A door with a worn roller tracks unevenly, which stresses the panels. Each of those turns a small fix into a bigger one over the course of a season. The “watch it for now” plan rarely saves money; it just moves the bill to a worse time.
If something feels off, get it looked at. A free estimate tells you whether it’s a Category 1 task you can handle yourself or a Category 3 job that needs trained hands. Either way, you’ll know. Call (866) 942-7683. We answer 24/7. Fast dispatch from 7am to 7pm, Sunday through Friday.
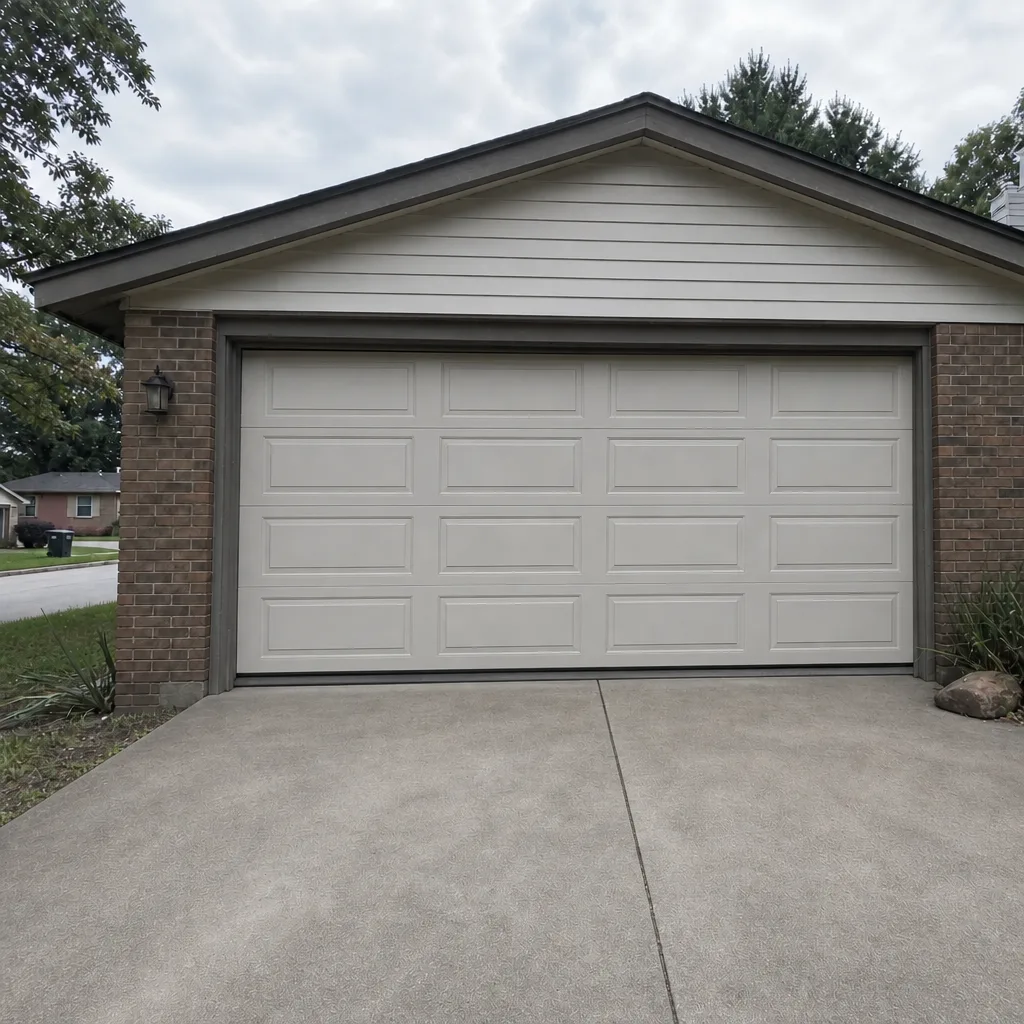
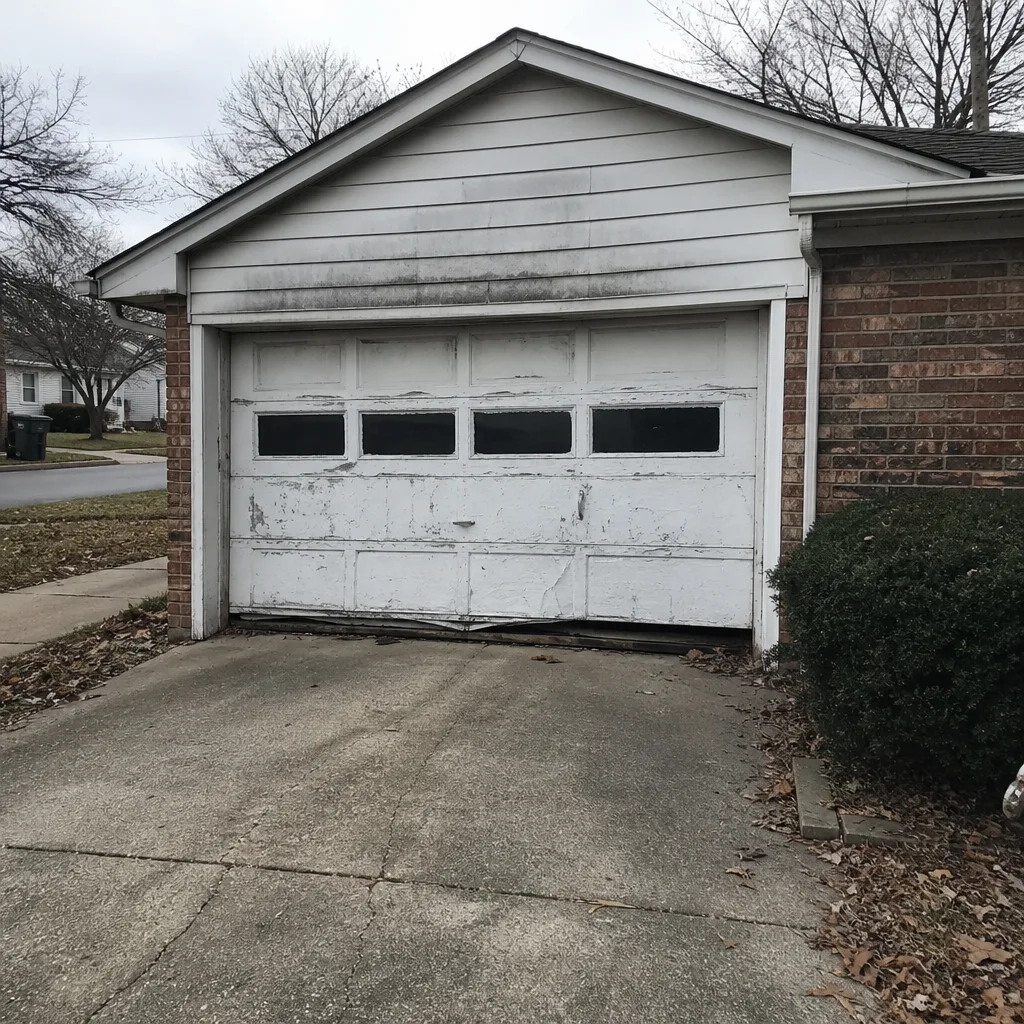
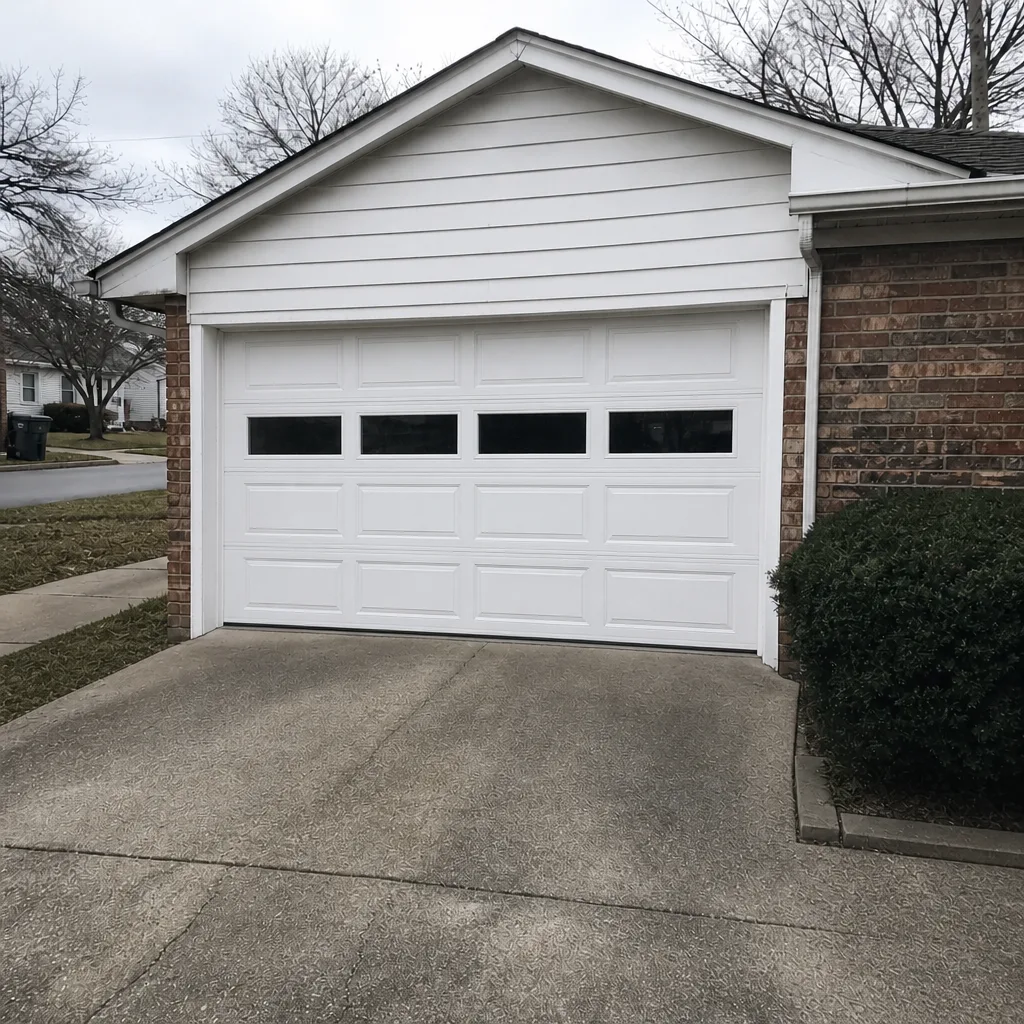
See the difference
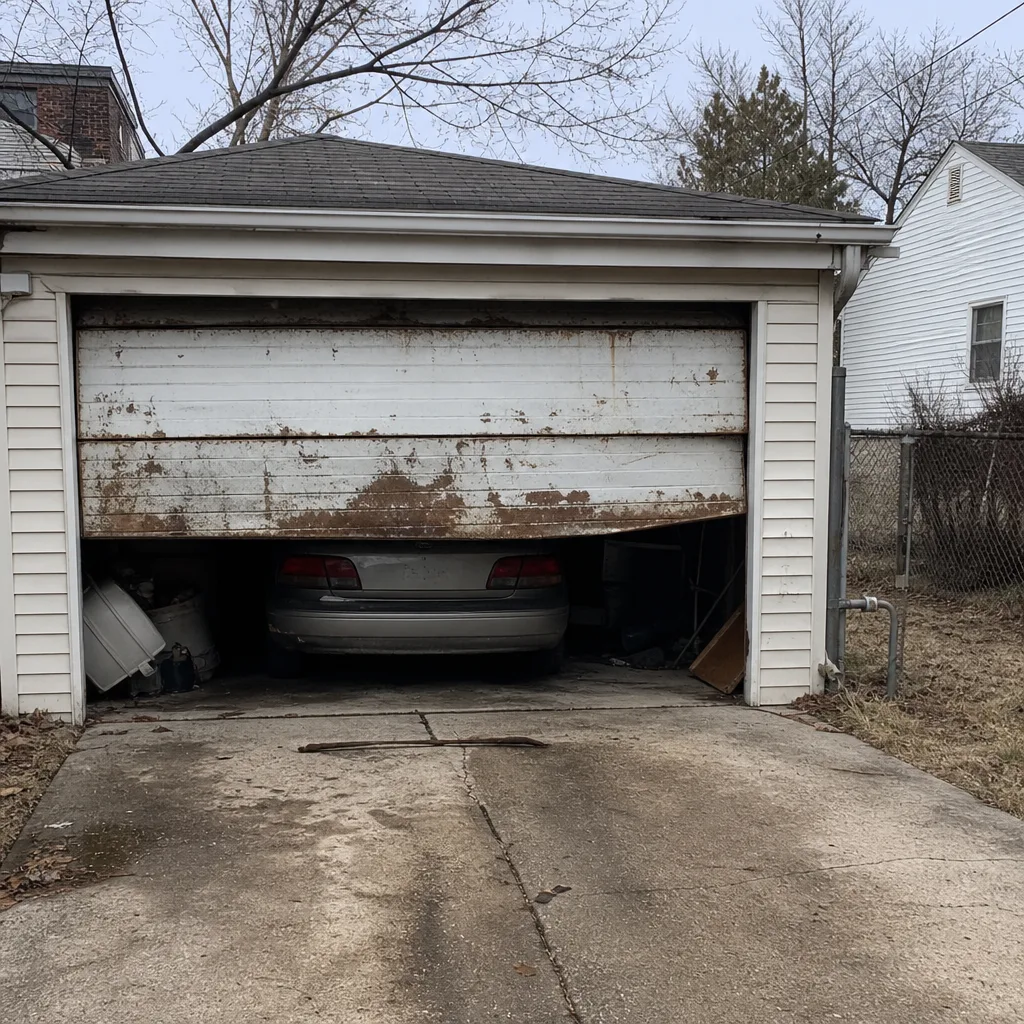 Before
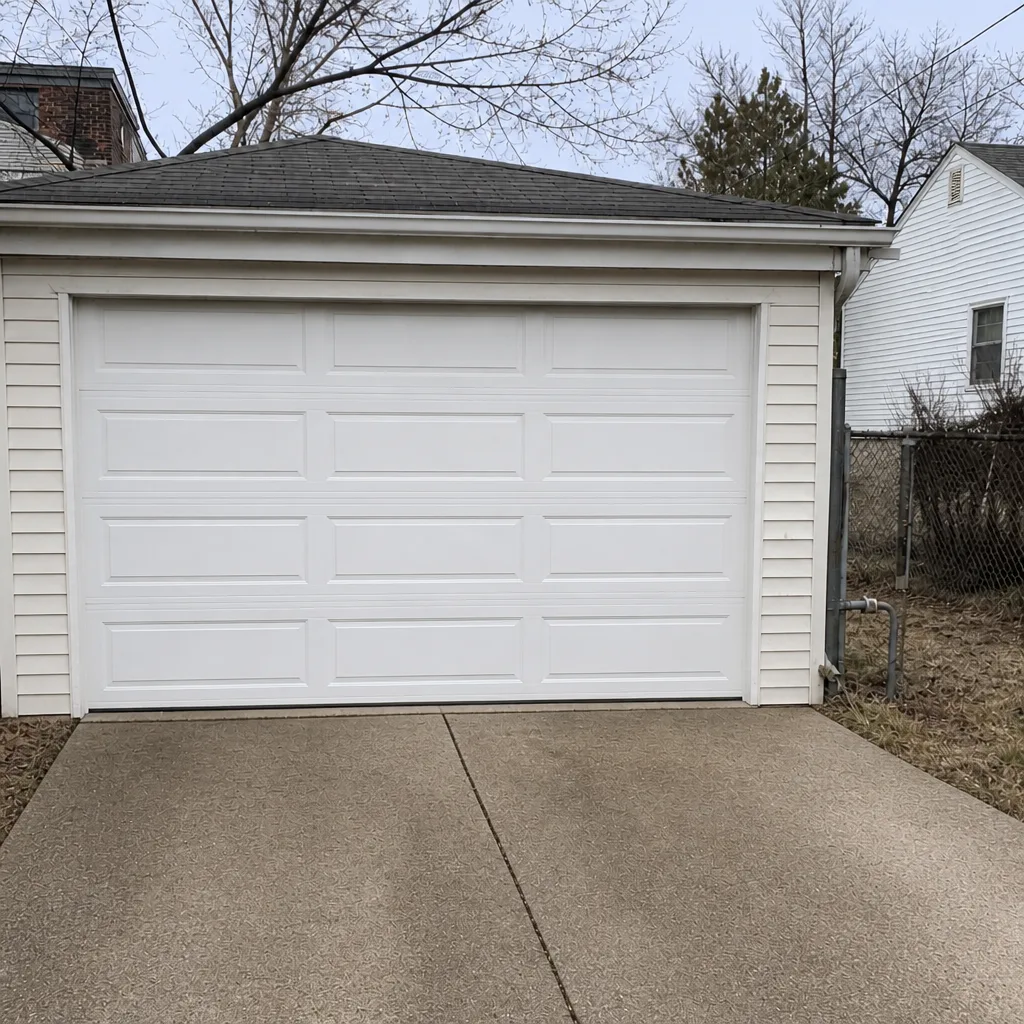 After
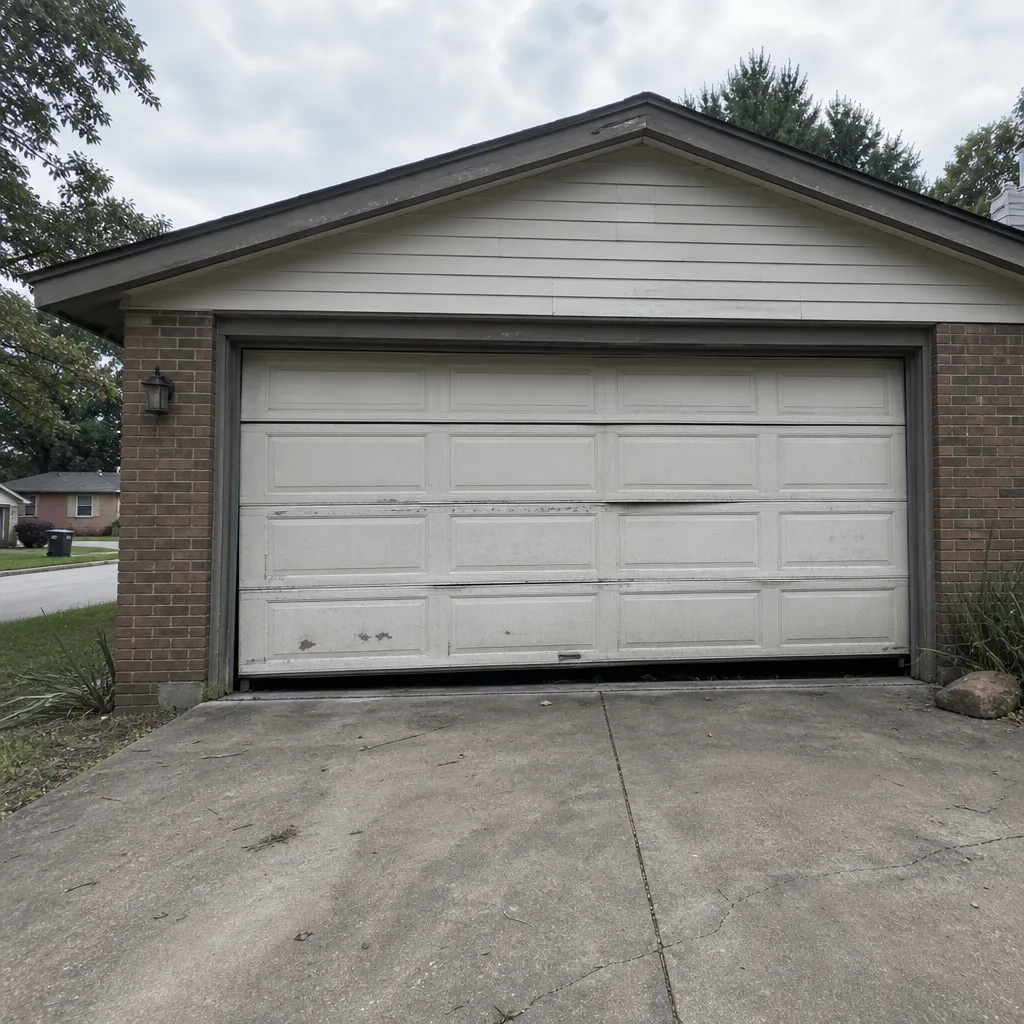 Before
 After
 Before
 After
Common Mistakes to Avoid
- Winding a torsion spring with the wrong tool. A socket wrench, a screwdriver, or a piece of rebar can slip off the winding cone and release the spring’s full tension. Use proper winding bars or don’t wind the spring at all.
- Replacing one spring on a matched pair. Torsion springs on the same door usually wear at the same rate. Replacing one leaves the other on borrowed time, and the second failure is often just weeks behind the first.
- Lubricating the tracks. Garage door tracks are meant to stay clean and dry. Lubricant on the tracks attracts grit and causes the rollers to slide instead of roll. Lube the rollers, hinges, and torsion bar bearings instead.
- Trusting a YouTube video that skips the balance check. A door that goes up and down smoothly can still be badly out of balance. Without the halfway check, you’ll never know until the opener or the spring pays the price.
- Ignoring a door that reverses on its own. A door that reverses on close is usually a sensor or balance issue, and it’s also a sign something else is going wrong. Don’t just hold the button down and hope; find the cause.
- Forcing a door that’s come off its tracks. The door is heavy and unpredictable in that state. Pushing it back into place risks injury and makes the repair more expensive.
- Waiting until the spring breaks to think about it. A door with aging springs is a door that’s going to fail at the worst possible moment. If your door is over ten years old and the springs have never been checked, get them looked at before winter sets in.
When to Call a Professional
Call a professional the moment any of the following is true: a spring has broken, a cable looks frayed or has come loose, the door has come off its tracks, the door drops too fast or is hard to lift by hand, the opener won’t lift the door or the door reverses on close, you hear grinding or popping from the opener head, or you’ve bought a replacement part and you’re not sure it’s the right one. Those all point to work that’s either dangerous to do yourself or easy to get wrong the first time.
There’s also a smaller category of “just call and ask.” If you’re not sure whether your job is Category 1, 2, or 3, a free estimate answers the question without you touching a tool. Landon Garage Door Repair services all the major residential brands (LiftMaster, Chamberlain, Genie, Clopay, Amarr, Wayne Dalton, Craftsman, Raynor), and our technicians have up to 14 years of experience across those systems. Door and opener, handled together, so you’re not coordinating two contractors. Landon Garage Door Repair offers free estimates in St. Louis: call (866) 942-7683.
Frequently Asked Questions
No. Torsion and extension springs are under enough stored force to cause serious injury, and there’s no way to make them safe from the outside. You can’t flip a breaker on a garage door spring. This is the one task on the list we tell every homeowner to leave to a trained technician.
Typical estimated ranges run $220-$380 for a single torsion spring in the St. Louis area, and about twice that for a matched pair. The written estimate you receive sets the final price, and it’s quoted and agreed before any work starts. Call (866) 942-7683 for an exact quote; estimates are free.
Sometimes. Remote batteries, sensor alignment, and Wi-Fi re-pairing are all safe DIY jobs. Motor, drive belt, chain, and logic board work are not, because diagnosing them requires the right meter and the brand-specific schematics for your Genie, LiftMaster, or Chamberlain system. If the opener itself is failing, that’s a call.
On paper, it’s the price of the rollers versus the price of the repair. In practice, it’s the door balance check and the track alignment. A set of nylon rollers runs $30-$60 in parts; a professional roller replacement runs $180-$320 including the balance check and any track adjustment. Do it yourself if you’re comfortable, but call if the door binds after.
Usually yes. A marginal spring or cable that fails in a St. Louis cold snap at 6 AM is a worse call than a scheduled one, and a door that’s been out of balance for months wears the opener and rollers faster than a door that’s been fixed. If something feels off, get a free estimate before it becomes urgent. Call (866) 942-7683.
Yes. We work with state-licensed, insured, and bonded independent professionals, and we quote before any work starts so you’re never surprised by the invoice. If you need a receipt or documentation for a warranty or insurance file, let us know when you call. Call (866) 942-7683 for a free estimate.
The Bottom Line
The DIY vs. pro question on a garage door comes down to one variable: whether stored energy is involved. Safe DIY covers seals, sensors, remotes, rollers, lubrication, and low-voltage wiring. DIY with training covers minor track adjustments, belt swaps, and single panel replacement. Professional only covers springs, cables, bottom brackets, drums, re-hanging a door, and opener motor or logic board work. If you know which list your task is on, you’re already ahead of most homeowners. If you’re not sure, a free estimate from Landon Garage Door Repair settles it. Door and opener, handled together, with the right fix rather than the most expensive one. Explore our Landon Garage Door Repair homepage for the full picture, or jump straight to garage door repair or garage door opener repair if you already know what’s wrong. If you’re shopping for a new system instead, our St. Louis installation guide walks through the decision from the ground up.
Call (866) 942-7683 for a free estimate. We answer 24/7. Fast dispatch from 7am to 7pm, Sunday through Friday. Closed Saturday.
Written by the team at Landon Garage Door Repair.